Kids Corner: Learning from Robert Sheilds
Learning from a Pro with Robert Shields
It is my good fortune to have been friends with Renaissance man Robert Shields for over 20 years. Some of you may remember his Emmy Award winning mime television show “Shields and Yarnell.” He worked with stars like Bob Hope and Red Skelton and filmed with director Francis Ford Coppola. He is also credited with inventing the robot dance move, inspiring such performers as Michael Jackson and other dancers, headlining with Frank Sinatra in Las Vegas and garnering the Las Vegas Entertainer of the Year Award. That’s not all! He’s performed on Broadway, film and with symphonies all over the world.
Robert has done it all. Now he is painting and storytelling through the visual arts. Living in the Southwest, he captures his passion for movement, humor, and ancient culture in his art.
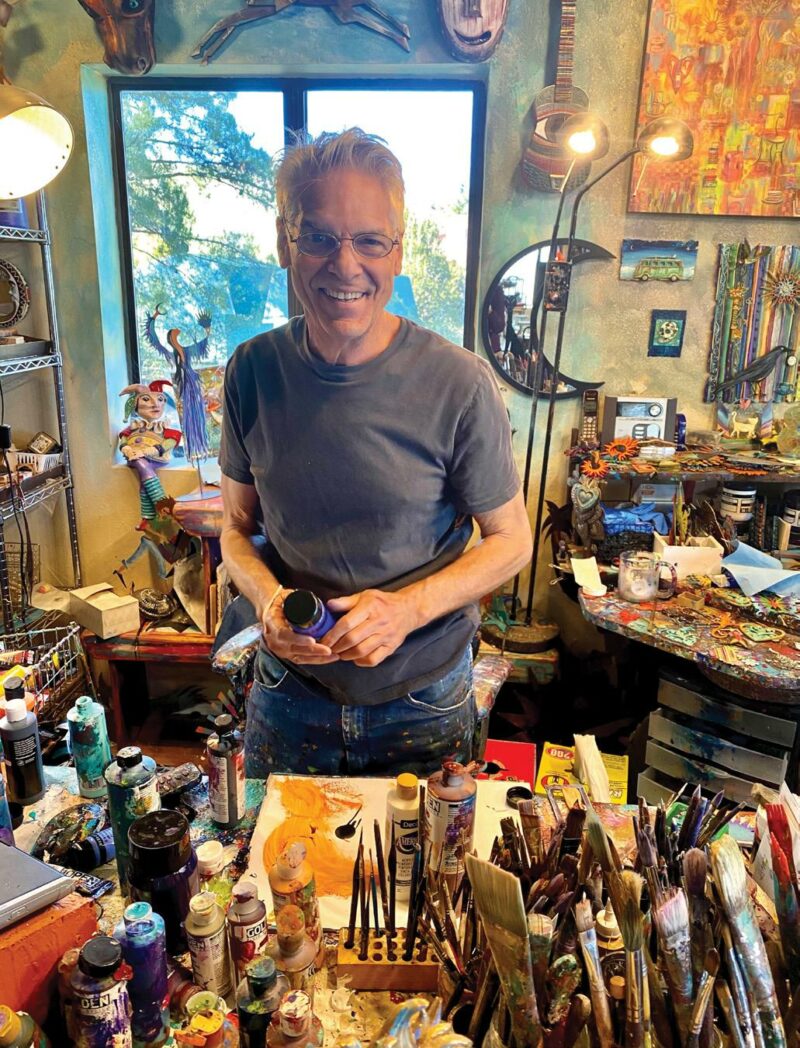

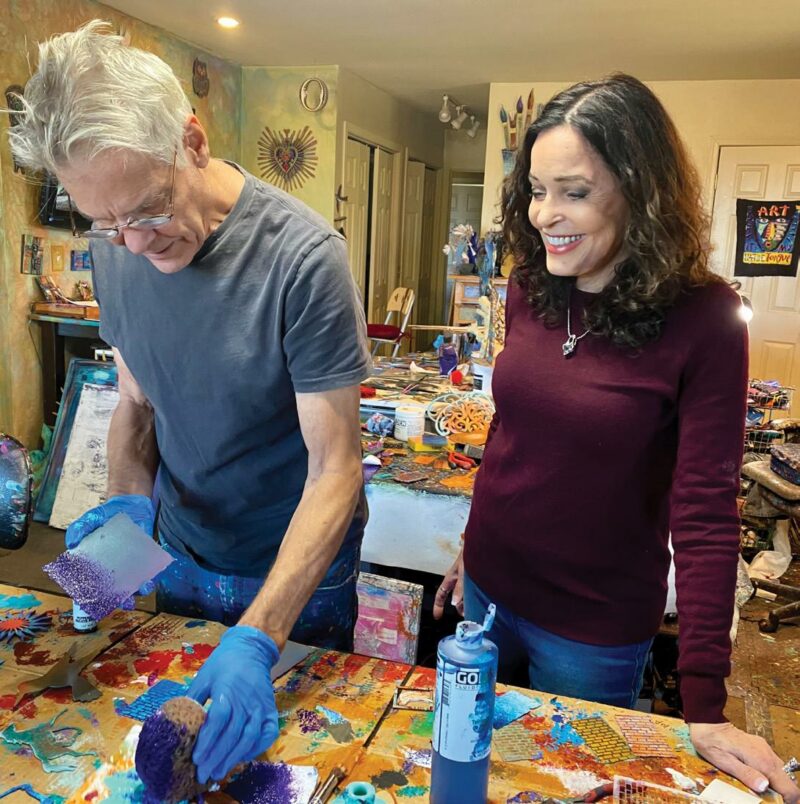
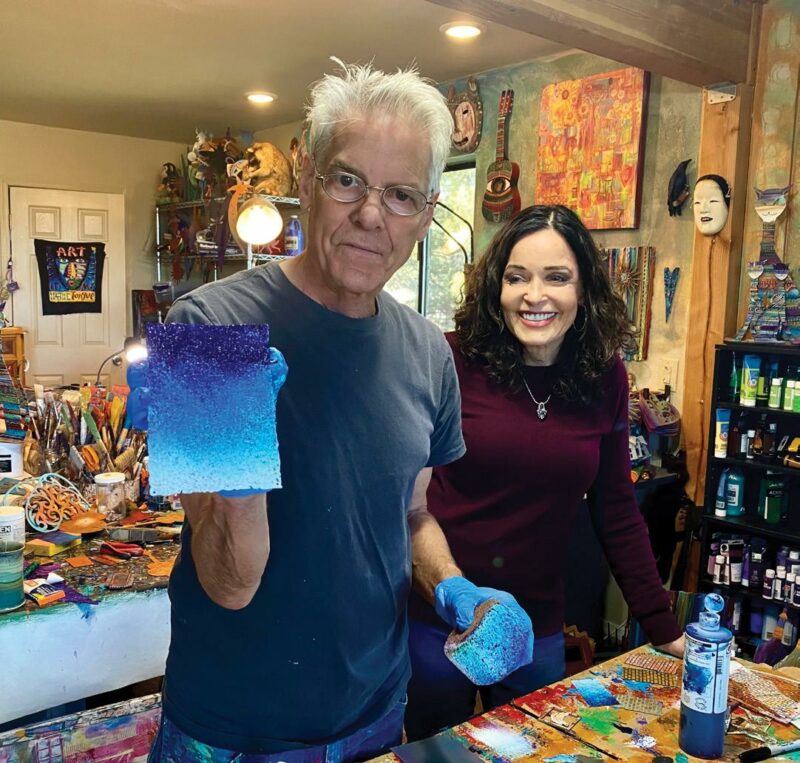
In November we got together in Robert’s home studio in Arizona where he demonstrated some easy painting ideas for all ages that your child or you can incorporate into many projects.
Stippling though a stencil and Sponge Painting – Supplies for both:
• Cover for work area
• Acrylic paint
• A stippling brush
• A sponge cut for small hands
• A colored drawing cut out, a photo, a flat toy, a jewel anything to glue onto finished background
• Black permanent marker to outline or add detail to your drawing to be glued on background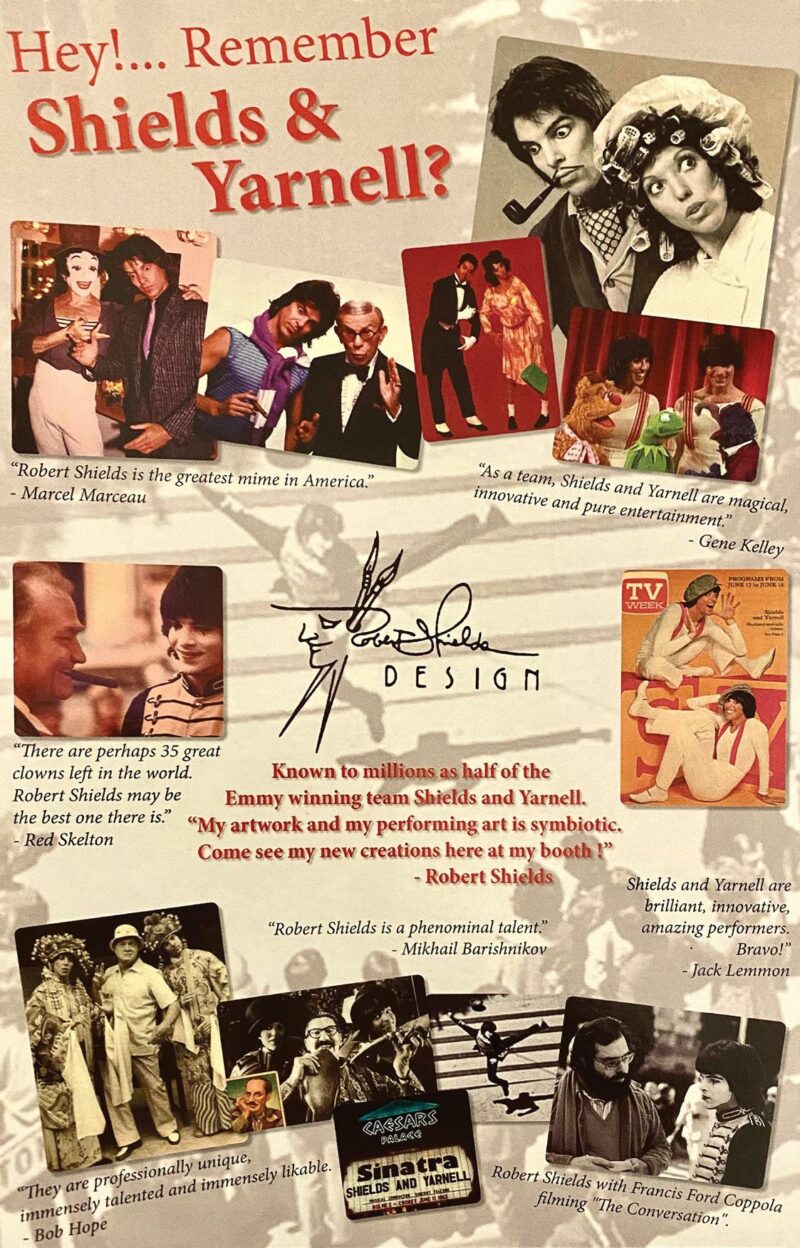

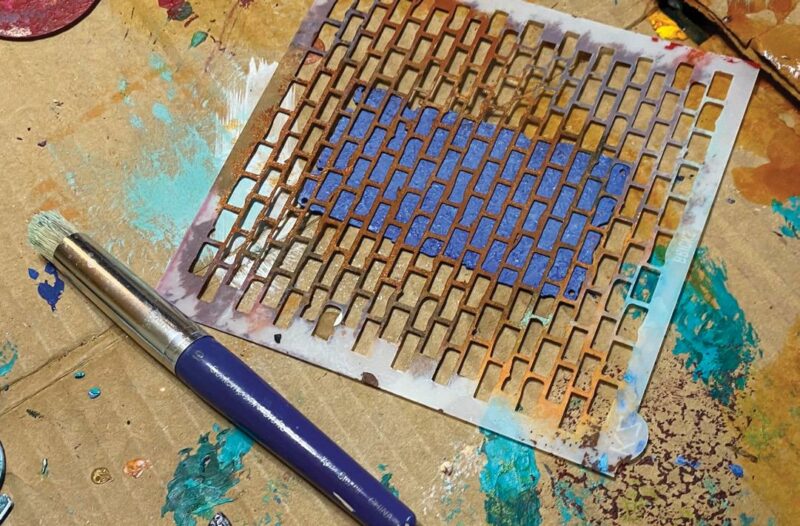
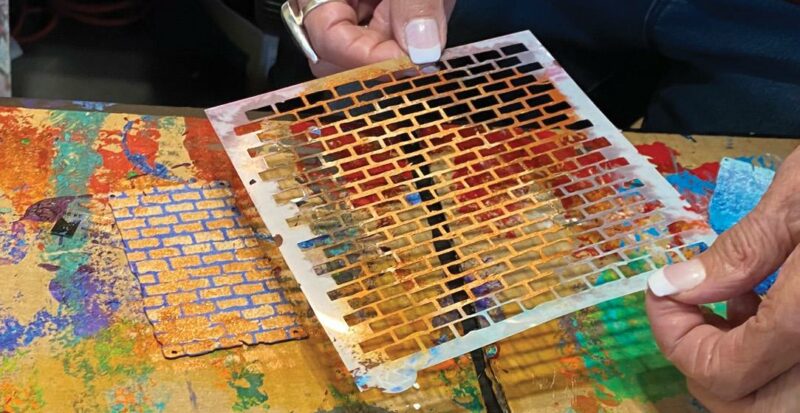
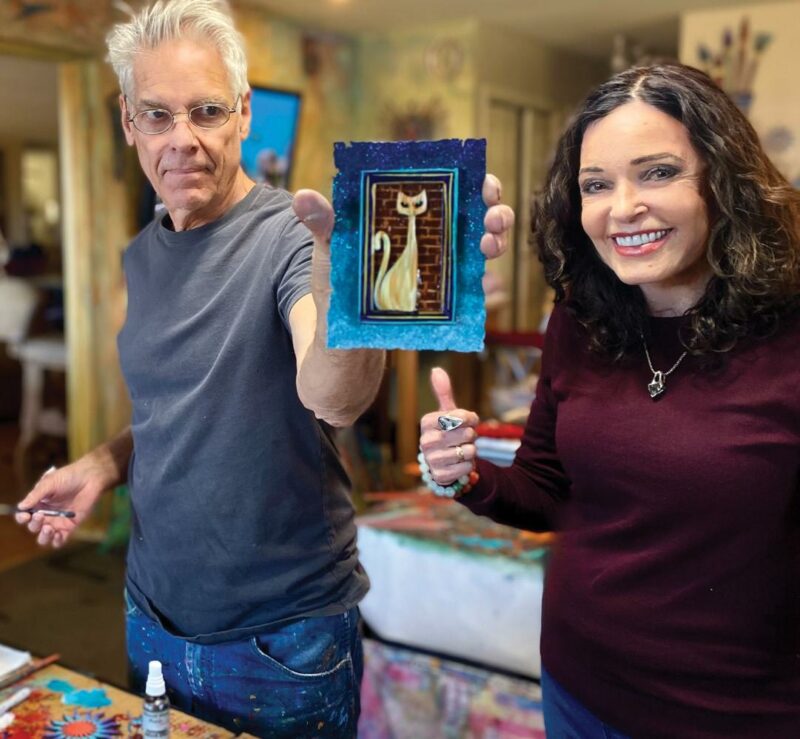
Robert cut off the sides and used the bottom of the plastic basket that strawberries come in to stipple through. Anything that has holes will work and create texture, such as illustration board, canvas or any stiff surface.
STIPPLING TO CREATE BACKGROUND TEXTURE
1. Put three values (light, medium and dark of one color, onto a paper plate palette.
2. Put the strawberry basket grid on top of the illustration board.
3. Dab stippling brush into each of the values of color on the palette and wipe off excess; the brush needs to be semi dry.
4. Tap on the strawberry stencil lightly—do not overdo it; you want to see the various shades of color.
5. Lift off the stencil and let it dry. You can outline with a marker if you want. You now have a great background to glue on a favorite image. This may be something you have drawn on another paper with a marker and colored in and cut out. Robert drew a cat, painted it, cut it out, and glued it on the background. The possibilities are endless.


SPONGE PAINTING A BACKGROUND
1. Put three values of acrylic paint on a paper plate: light, medium and dark of one color.
2. Dip sponge into paint and tap on newspaper to get rid of excess paint. You want to see the sponge texture.
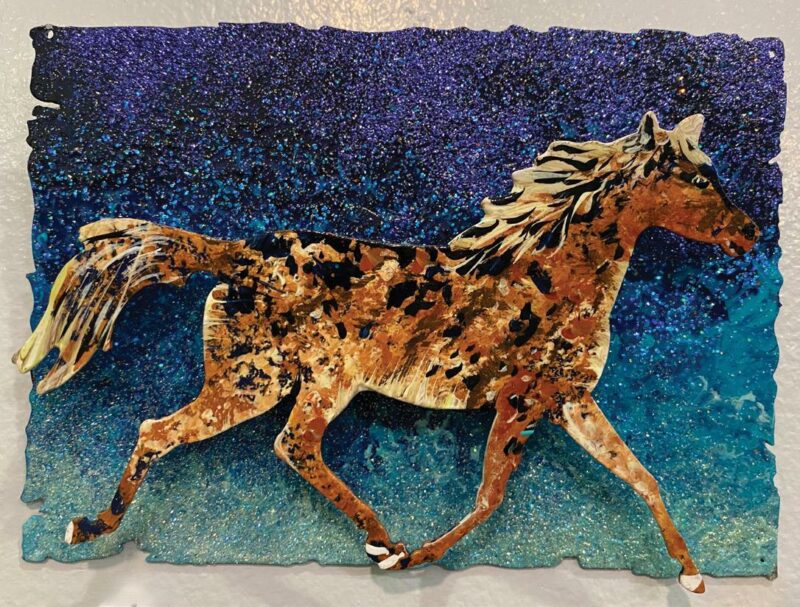
3. On a piece of hard illustration board, canvas, or other stiff surface, tap the dark color at top, then tap the medium color with the sponge and then the light color on bottom.
4. Do not clean the sponge–dab the second MEDIUM color next to the dark color and then rotate the sponge and tap in the light color. Dab off the excess paint then dab on the board. Robert went from dark to light but you can do light to dark.
5. Do not wet the sponge as this will cause the paint to run. You want to keep it dry so you can see the sponge holes. Too much paint on the sponge will not work.
Now you have a beautiful surface on which to glue your favorite cut out drawing or use as a background for a silhouette painting, a photo, a little jewel, or a glued on toy. Use your imagination to create wonderful art that is truly your own!




Carol Peters
With over 30 years experience in art education, Carol is an award winning artist, actress, executive producer and star of “Carol on Creativity” Named 2021 Poppy Jasper International Film Festival’s Art Icon. Her passion is to bring art alive for young and young at heart. Contact Carol at: caroljp@garlic.com
